This post may contain affiliate links. If you make a purchase through links on our site, we may earn a commission.
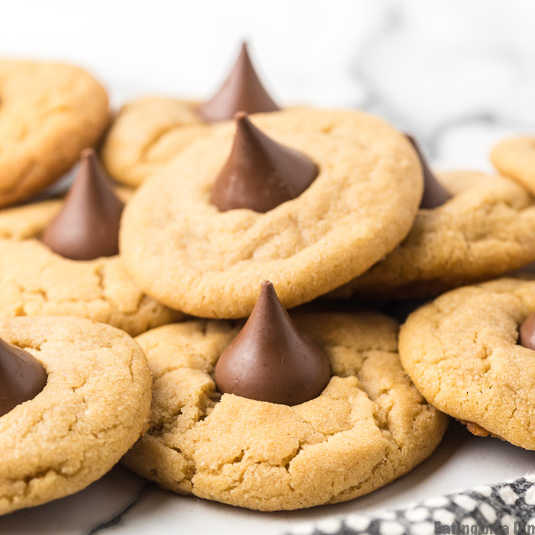
These Peanut Butter Kiss Cookies are fun to make and taste delicious. You’ll be surprised by how easy these are to make and everyone will love them!
This Peanut Butter Kiss Cookies recipe is a must have at any holiday gathering. But really it is great anytime of the year. It is truly a classic cookie that is loved by all.
A peanut butter cookie that is topped with a Hershey Kiss is my kind of cookie. It is my favorite dessert to make with the kids as they love to put the kiss on top. If you love these peanut butter blossom cookies, then try Peanut Butter Icebox Cake, Peanut Butter Pretzel Bites and Chocolate Peanut Butter Cupcakes.
Table of Contents
Why We Love This Peanut Butter Cookie
This recipe for peanut butter blossoms is easy to make and I know that you and your family will enjoy making them together. I especially love how easy the ingredients are. The ingredients are staple ingredients that are always in my pantry.
These cookies have a chewy texture and amazing flavor. Make these Christmas Cookies for all your holiday plans.
Ingredients
- Peanut Butter – We recommend using creamy peanut butter
- Butter – We used unsalted butter
- Light Brown Sugar – See The Best Brown Sugar Substitutes if you are out
Scroll to the bottom for the full recipe in the recipe card.
Variations Ideas
What is great about this cookie recipe is you can change out the chocolate candy for something else.
- Try a caramel candy like a Rolo
- A Peppermint Kiss would be yummy for the Christmas Holidays
- You can even put a bite size snickers on top.
- We have even sprinkled a little powdered sugar on top.
- A Reese’s Chocolate Peanut Butter Cup would taste amazing on top.
The options are endless and that is why they are my favorite cookies to make.
How to Make Peanut Butter Kiss Cookies
- Step 1 – First preheat your oven to 350. Some recipes request that you preheat oven to 375 but I find that they are less likely to dry out when they are baked at the lower temperature.

Step 2 – Then cream together the ½ cup sugar, brown sugar, butter and peanut butter until smooth in a mixing bowl.

Step 3 – Next add large egg and vanilla extract and beat together into the butter mixture. Then whisk together flour, baking soda and salt in a separate bowl.

Step 4 – After those ingredients are thoroughly combined, slowly add all purpose flour mixture to the creamed mixture, beating until incorporated.

Step 5 – Next shape the dough into 24 1-inch balls and place them on baking sheets several inches apart. After you have rolled the dough, then gently make an indentation in the center of each cookie just like in the photo below. You could sprinkle some sugar before baking.
- Step 6 – Finally, bake them in the preheated oven for 12-14 minutes. After this cooking time, remove from the oven and place a Hershey Kiss in the center of each cookie.
- Step 7 – Then move the cookies to a cooling wire rack at room temperature and allow for them to cool completely which usually takes around 30 minutes.
Expert Tips
- Stand Mixer – My mom bought me a stand alone Kitchen-aid Mixer a few years back for Christmas and I do love it so much. It makes creating delicious cookies and cakes easier to do. You can also use this Kitchen-aid hand mixer as well and it work great.
- Flour – Make sure to measure the flour before adding with the other ingredients. If you add to much flour then the cookies could end up dry.
- Peanut Butter – We recommend using no-stir peanut butter for this recipe. Natural peanut butter does not work for this recipe.
- Cookie Scoop – To make sure that the cookies are about the same we use a cookie scoop to make the cookie dough balls.
Frequently Asked Questions
Yes, you can easily prepare the dough ahead of time and store in an airtight container. You can also freeze the dough in a freezer safe container for up to 3 months. See How to Freeze Cookies for Baking for easy tips.
After they have cooled, I move the cookies to an air tight container so we can can enjoy them later. To be honest, they usually don’t last long there as my family always devours these cookies quickly! They will keep up to 2 weeks if stored properly.
When I bake over the holidays, I usually intentionally make extras so I can freeze them and my family can enjoy cookies all throughout the year!
I get a lot of questions about what can be frozen and what cannot because I’m an avid freezer cooker and leftover cookies can definitely be frozen!
The only difference for this cookies is that I would let them defrost at room temperature instead of baking them so that the milk chocolate kisses do not melt. You can freeze the cookies up to 3 to 6 months.
Just make sure if you are freezing that you use an air tight container. I also like to separate the layers with parchment paper.
More Easy Cookie Recipes
Easy Cookie
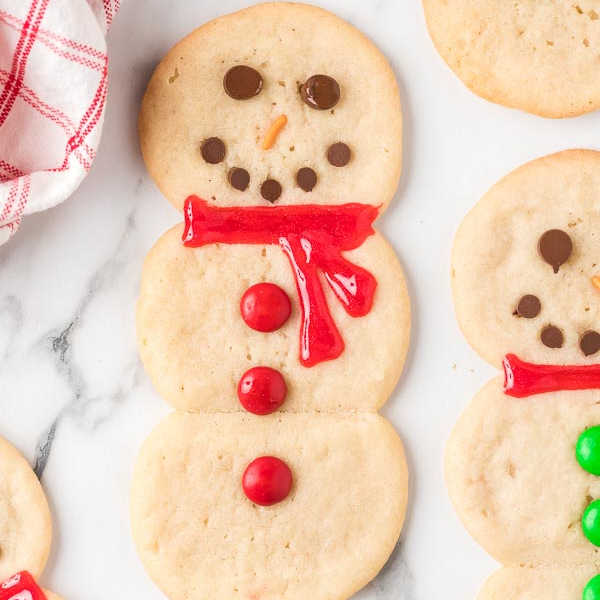
Easy Snowman Sugar Cookie Recipe
Easy Cookie
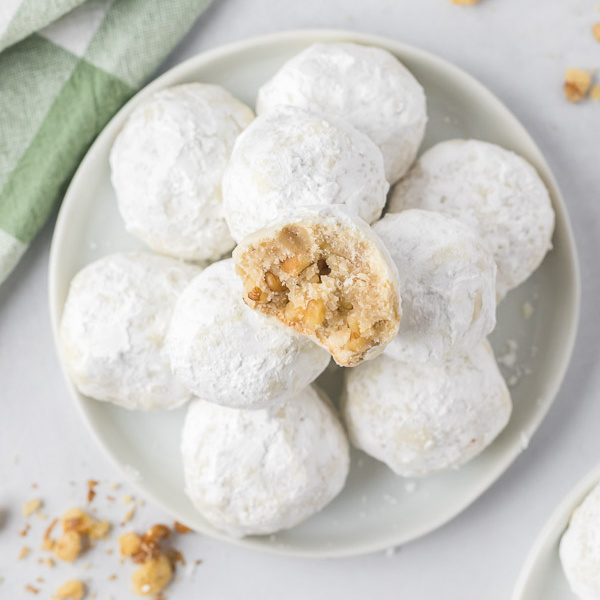
Russian Tea Cakes Recipe
Easy Cookie
Deep Fried Cookie Dough Recipe
We love to hear from you. If you make Peanut Butter Hershey Kiss Cookies, please leave us a star review.
Peanut Butter Kiss Cookies
Ingredients
- 1/2 cup Peanut Butter
- 1/2 cup Butter
- 1/2 cup Granulated Sugar
- 1/2 cup Brown Sugar
- 1 tsp Vanilla
- 1 Egg
- 1 1/3 cup Flour
- 1 tsp Baking Soda
- 1/2 tsp Salt
- 24 Hershey Kisses (unwrapped)
Instructions
- Preheat oven to 350.
- Cream together peanut butter, butter, sugar and brown sugar until smooth.
- Add egg and vanilla and beat together.
- Whisk together flour, baking soda and salt in a separate bowl.
- Slowly add dry ingredients to the creamed mixture, beating until incorporated.
- Roll into 24 1″ balls and place on cookie sheet several inches apart.
- Gently make an indentation in the center of each cookie.
- Bake 12-14 minutes.
- Place a Hershey Kiss in the center of each cookie.





I have made these cookies many many times and everyone loves them!!! From the kids to the adults. Thanks for a perfect recipe!
A classic!
These are so good& easy to make. I make these for Christmas every year. Everyone loves them!
Thank you!
Very easy and delicious!
I am actually happy to glance at this webpage posts which consists of
lots of helpful data, thanks for providing these kinds of data.
These are good with the mini kisses found by the chocolate chips. I mix them in just like chocolate chips, and they ship well too.
I would like to know if there is a Eating on a Dime cook book with meals and desserts?
These have always been my favorite cookies growing up. 🙂
I picked these out for my daughter’s first time baking cookies by herself. She’s almost 8 and rocked them with a little supervision.
Very simple and very good! The kids had a blast making these cookies!