This post may contain affiliate links. If you make a purchase through links on our site, we may earn a commission.
Homemade Pumpkin Puree is very simple and freezer friendly. Save money when you make pumpkin recipes with this easy recipe.

Let’s talk about how to make pumpkin puree. In the fall, I love baking with pumpkin. I love making pumpkin cookies (my kids’ favorites), pumpkin bread, 2 Ingredient Pumpkin Muffins even pumpkin pancakes.
I have been seeing a lot of tutorials for how to make pumpkin puree on Pinterest, so I wanted to give it a try myself. The flavor is richer and you can tell a big difference in how it tastes. If you have made Spaghetti Squash or Roast Acorn Squash then you will love this pumpkin recipe.
Table of Contents
Why This Recipe Works
I made my own pumpkin puree for the first time and I have to tell you, it was so easy. I have no idea why I haven’t been making homemade pumpkin puree.
There aren’t a lot of kitchen tools or fancy equipment you need. The only thing I would suggest is a food processor. I have a food processor similar to this one, and I love it.
This is pumpkin puree is easy, you may never buy canned pumpkin puree again. It is truly that simple. It turned out great with soft texture and tastes amazing. The flavor was rich and perfect for baking.
Ingredients

- Whole Pumpkin – Small pumpkin works best
Scroll to the bottom for the full recipe in the recipe card.
How to Make Pumpkin Purée
- Step 1 – First, find a pumpkin. It doesn’t matter whether you grew one in your garden, found one in the patch or picked one up from the store. Any pumpkin will do.
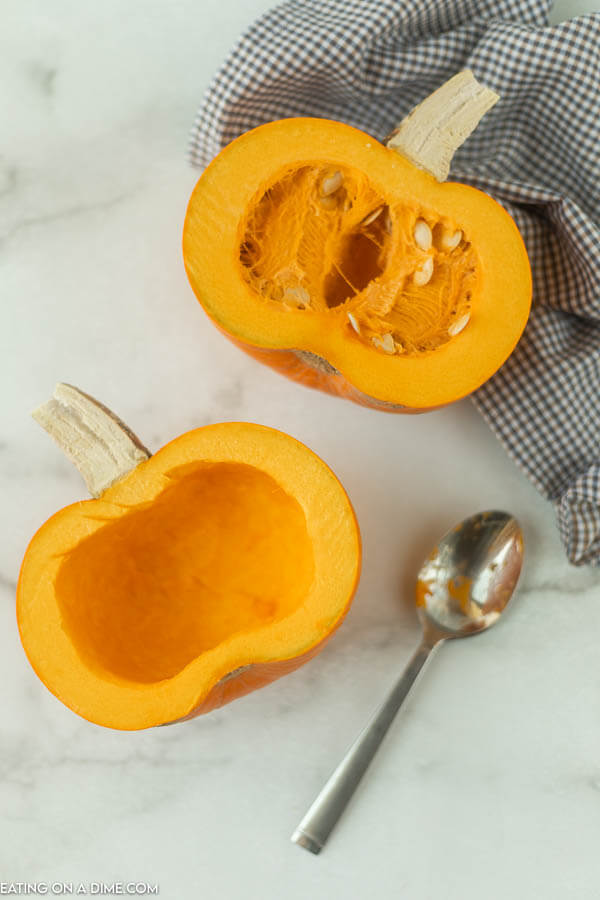
Step 2 – Cut your pumpkin in half. I used a small knife to remove the stem and then a large knife to cut it in half. This did take a little strength, but it wasn’t as difficult as I thought it was going to be. Scoop out seeds so the insides are clean with a spoon.
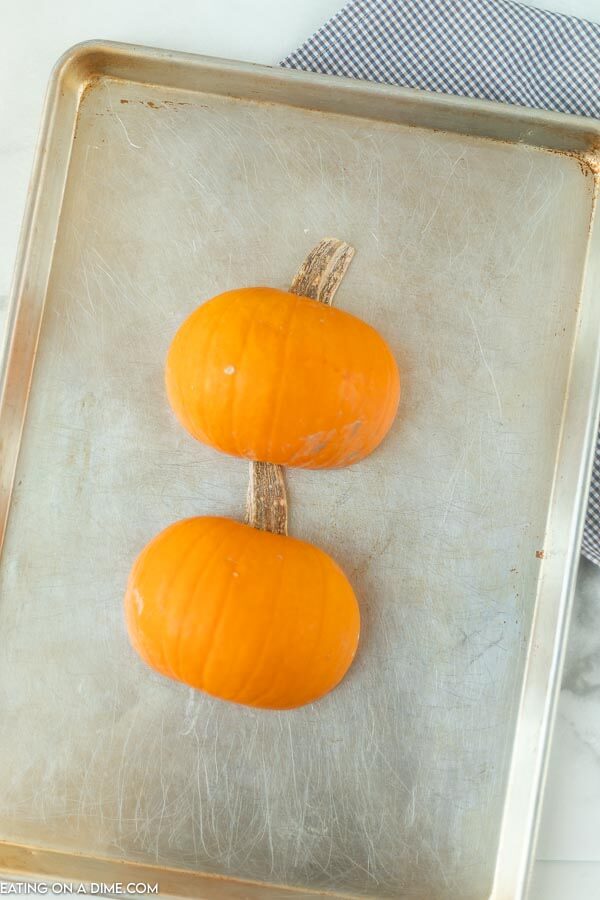
Step 3 – Finally, put the pumpkin cut side halves face down on a large sheet pan. They need to bake in a 350 degree oven for 50 minutes to an hour.
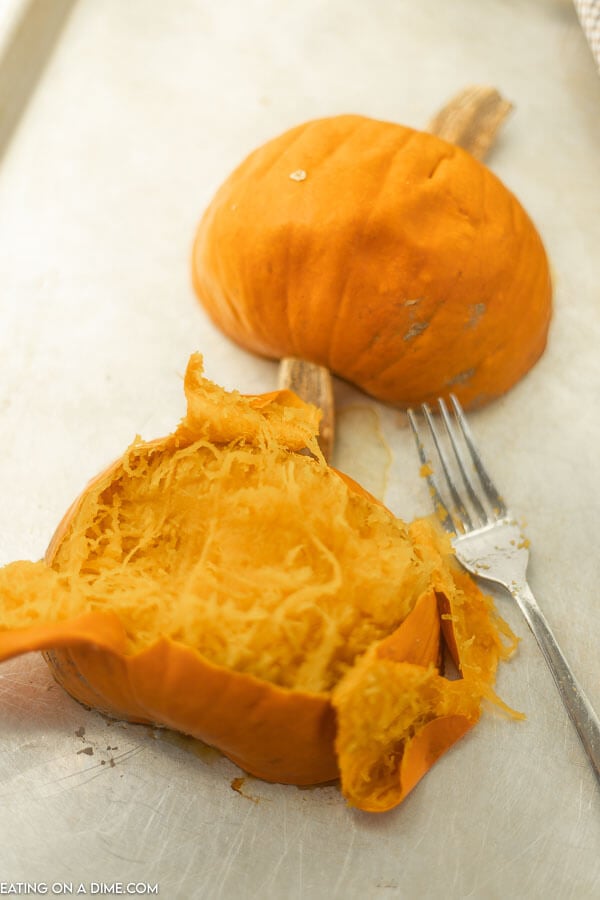
Step 4 – Let the fresh pumpkin cool slightly and then begin removing the skin. Don’t let it cool too much otherwise the skin will get harder to remove. I used a fork and my fingers to remove the skin. I was surprised at how easily the skin came off.
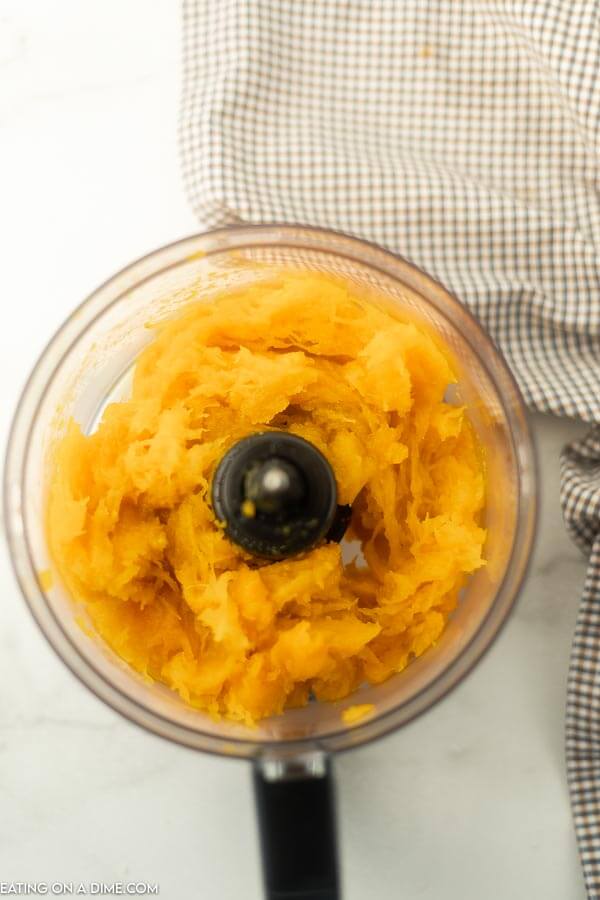
Step 5 – Once all of the skin is removed, cut the pumpkin flesh into chunks and place them in your food processor. I had a small to medium sized pumpkin so i was able to fit about a fourth of my pumpkin in the food processor at one time. It is best to not overfill the food processor.
- Step 6 – Blend until you have a nice smooth puree. I turned my food processor on 2 for about 20 seconds and 1 for another 10 seconds or so. The pumpkin is so soft, it becomes nice and smooth very quickly.
Recipe Tips
- Consistency – Homemade Fresh pumpkin puree can be runnier than store bought puree. I suggest straining the puree before using in recipes such as pies. You might also want to do this in other baked goods that the extra liquid could impact the finished product. It is easiest to do this using a cheesecloth draped over a bowl to catch any excess water.
- Canning Pumpkin Puree – I wanted to try my hand at canning the pumpkin because I thought that would be easier. However, the FDA highly recommends against NOT canning your own pumpkin. This is a very low acidic food and can very easily become poisonous. I did not want to take the risk. Putting the pumpkin in freezer bags was super easy (and safe).
- Pumpkin Seeds – You can easily roast pumpkin seeds for a delicious snack or to top your yogurt.
- Blending the Pumpkin – We recommend using a food processor but a blender will work too.
How Do You Know When Pumpkin is Fully Cooked?
Baking times very based on the size of your pumpkin and oven. Generally it takes about an hour to be fork tender.
When in doubt, you should be able to pierce the outside of the pumpkin easily with a fork. That is how you know your pumpkin is done.
How to Freeze Pumpkin Puree
- I placed my pumpkin puree into freezer bags in 1 cup increments. This will make life easier when I am baking something with pumpkin because it will already be measured out for me.
- Freezer bags work best because they lay flat and take up less room. Pumpkin puree can be frozen up to 3 months.
- When ready to use, remove the pumpkin puree from the freezer about 30 minutes before and you will be all set.
How Long Does Pumpkin Puree Last
Pumpkin puree will last up to 4 days in the fridge. You will need to make sure to store inside an airtight container.
Frequently Asked Questions
Yes, they are. Both are pure pumpkin without any extra spices and dairy free. You can use both of these interchangeable in recipes as they are the same ingredients.
The type of pumpkin you use will impact how it tastes in your favorite pumpkin recipes. Look for pie pumpkins or sugar pumpkins to make the puree. I do not using jack-o lantern carving pumpkin as the smaller pumpkins taste better.
These are especially best when making pumpkin pie. I could literally just drizzle maple syrup over fresh baked pumpkin and eat it like that.
It will vary based on the size of pumpkin used. I was able to get 10 cups of pumpkin puree. That’s more than 5 cans of pumpkin. This pumpkin cost me $2.99 at the store. A can of pumpkin starts at about $1 in the store (name brand will cost you more), so this is a nice savings. This was SO easy to do, I am really surprised I have not tried this before. It is so easy that you probably will not buy store bought pumpkin again.

Easy Pumpkin Recipes
Easy Thanksgiving
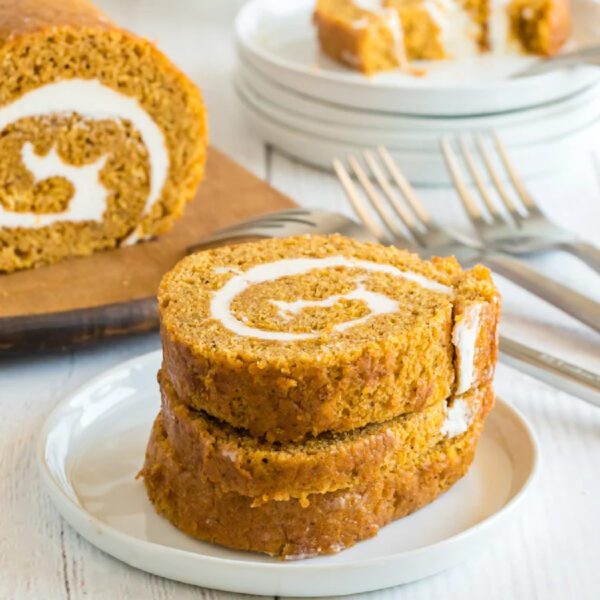
Easy Pumpkin Roll Recipe
Easy Cupcake
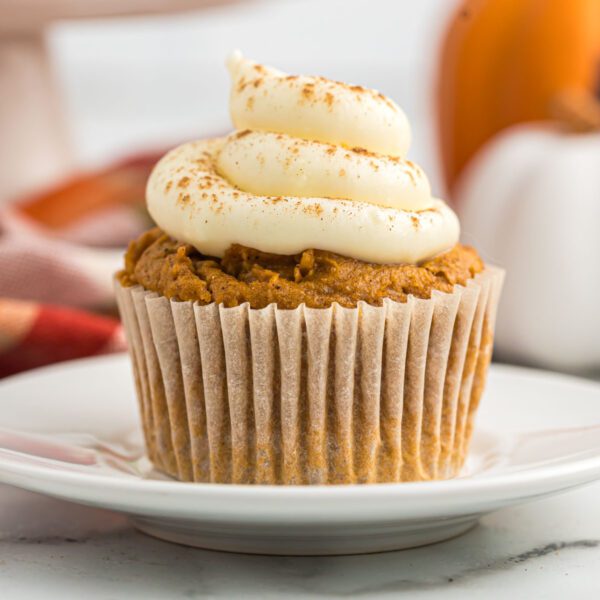
Pumpkin Cupcakes with Cream Cheese Frosting
Easy Cake
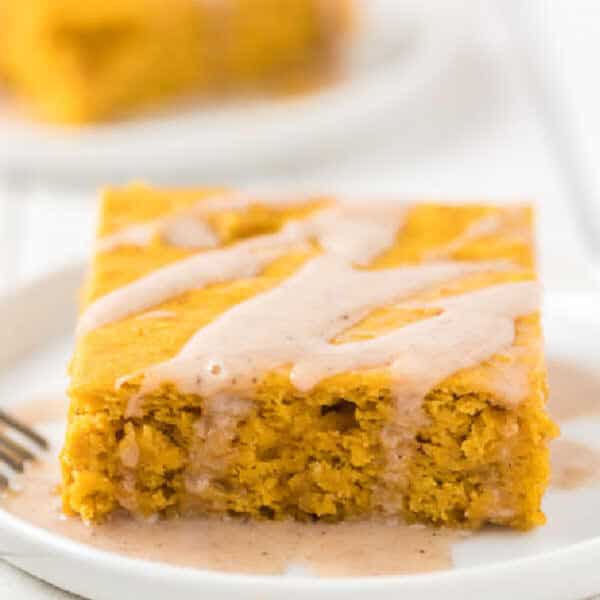
Easy Pumpkin Cake Recipe
We love to hear from you. If you make Pumpkin Puree Recipe, please leave us a comment or a star review.
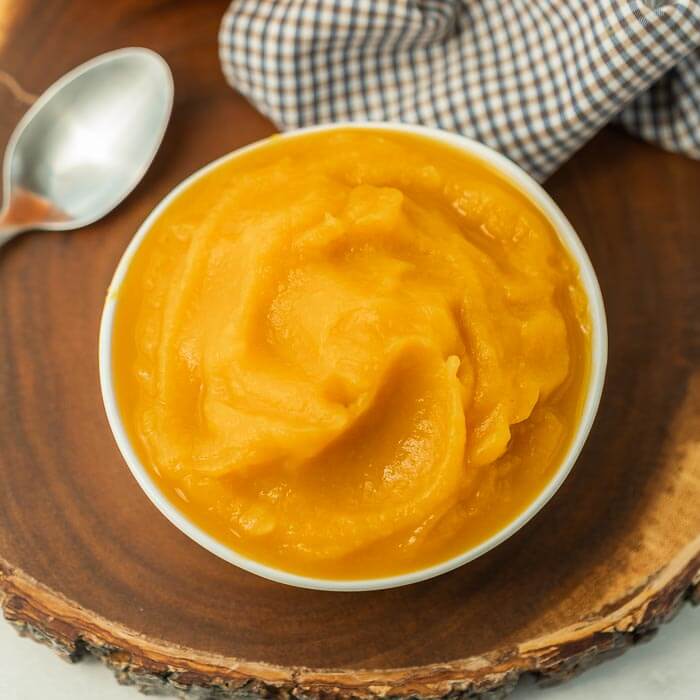
Homemade Pumpkin Puree
Ingredients
- 1 pumpkin
Instructions
- Preheat oven to 350 F.
- Cut pumpkin in half and remove all of the seeds.
- Place pumpkin halves face down on a large cookie sheet.
- Bake at 350 F for 50 minutes to an hour. When you poke the outside of the skin with a fork and it is tender, the pumpkin is done.
- Remove from oven and let cool slightly.
- With a fork and your fingers, remove the skin of the pumpkin. It should come off easily. If you let the pumpkin cool too much it may be more difficult.
- Cut pumpkin into chunks and place in the food processor. Blend until you have a nice smooth puree.
- Place 1 cup each into freezer bags. Remove from the freezer about 30 minutes before you are ready to use.






Great tip – Thank you for sharing!
I seen this and my only add would be to buy neck pumpkins. More pumpkin less waste and a little sweeter.
It is helpful to drain the pumpkin while thawing. You can use the liquid in soups, sauces etc. If your pumpkin is quite sweet, the juice is a nice drink as well.