This post may contain affiliate links. If you make a purchase through links on our site, we may earn a commission.
Learn how to make Homemade Garlic Bread for the freezer. Save time and money with this delicious recipe. The perfect bread to serve with Homemade Spaghetti.
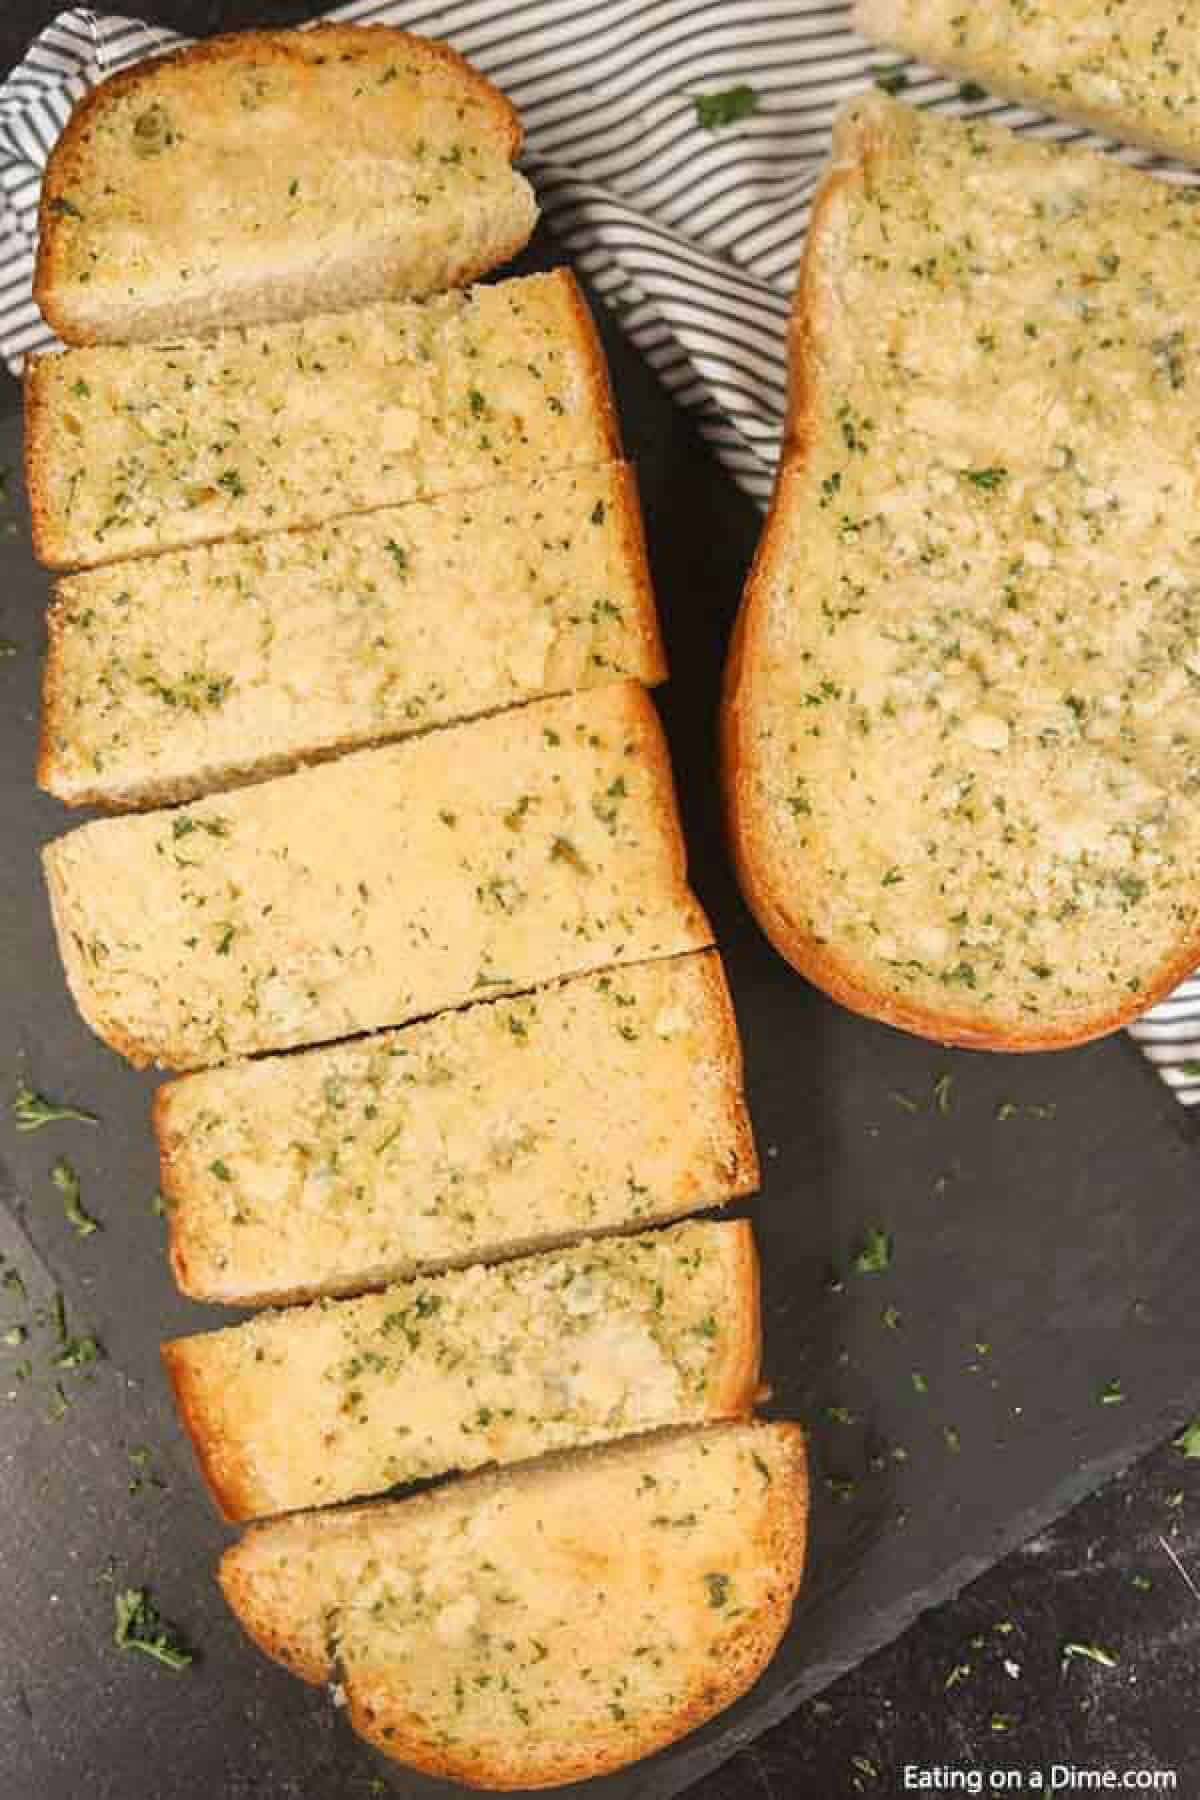
One of the things we love to do is make our own garlic bread and freeze it. I never thought about posting how to freeze garlic bread until my friend was shocked that I did it. This is the best Garlic Bread Recipe and topped with simple garlic bread spread.
If you buy garlic bread or cheesy bread at the grocery store, it is really expensive. That is why we love making this homemade bread as it saves me time and money. Serve it with Pasta Fagioli Soup, Easy Alfredo Sauce Recipe and Slow Cooker Lasagna for a complete meal idea.
Table of Contents
Why We Love Making Garlic Bread
If you have a large family like I do, one box of garlic bread is never enough. We normally need a couple of boxes and that really adds up.
I think this homemade version tastes better and we save money too. It is a win all around.
Ingredients
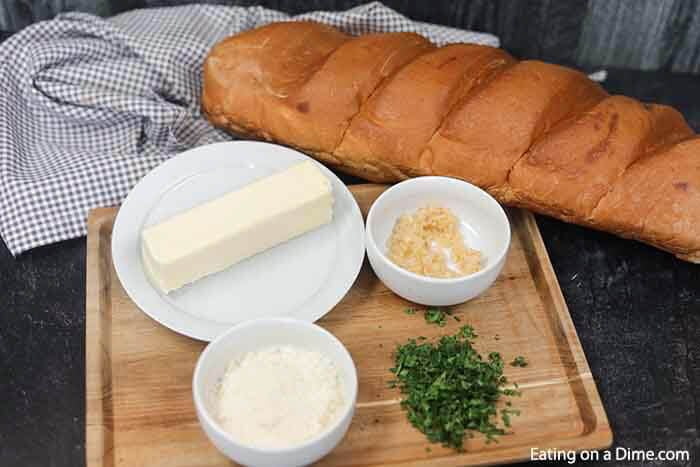
- Loaf of French Bread – Use any type of bread that you prefer
- Salted Butter – Softened at room temperature
- Olive Oil – You can also use avocado oil
- Minced Garlic – Learn How to Mince Fresh Garlic Cloves
Scroll to the bottom for the full recipe in the recipe card.
Variations Ideas
- Cheesy Garlic Bread – We love to top our garlic bread with shredded mozzarella cheese for a delicious variation.
- Spices – Feel free to change the spices to make this French Bread your own. You can make Italian Seasoning Recipe or sprinkle spices such as oregano, rosemary, basil and fresh herbs.
How to Make Homemade Garlic Bread
- Step 1 – Preheat oven to 400 degrees F.
- Step 2 – With a hand held mixer, combine the butter, olive oil, garlic and parsley. Mix until well combined and fluffy.
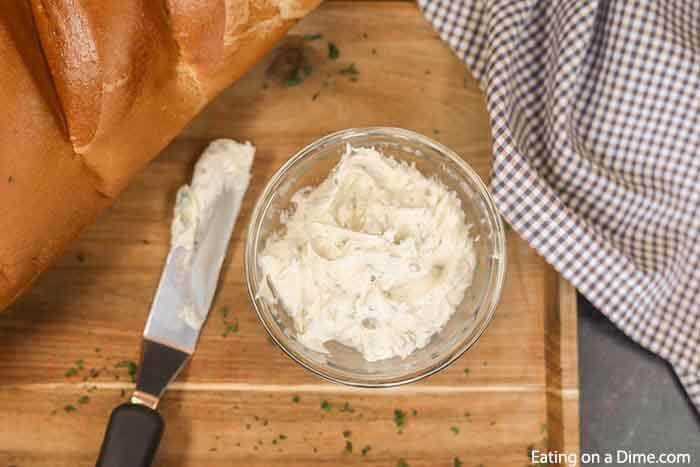
- Step 3 – Cut the French bread in half length-wise with a serrated knife and place on a baking sheet.
- Step 4 – Spread the butter mixture on each side of the bread and top with the grated parmesan cheese.
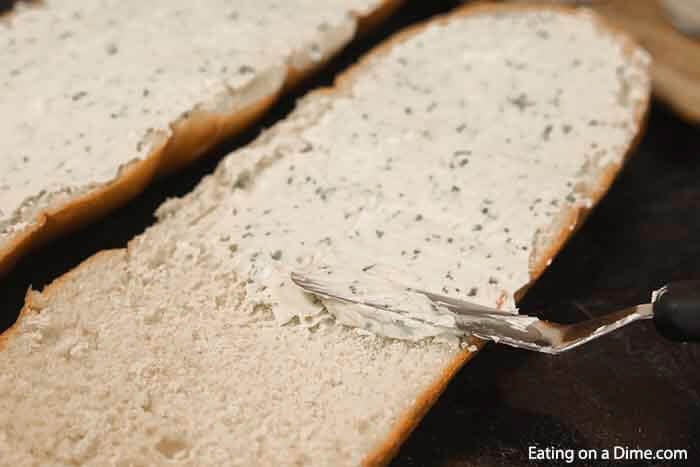
- Step 5 – Baked uncovered for 8-10 minutes until the outside of the bread is slightly browned.
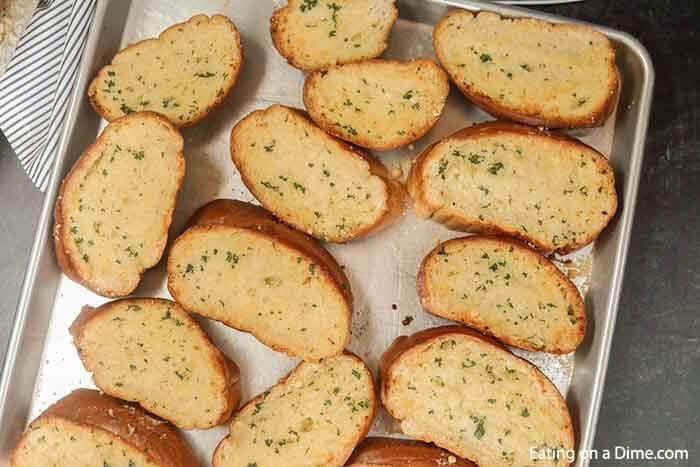
- Step 6 – Cut and serve immediately. Enjoy!
Expert Tips
- Baking Time – Baking garlic bread will vary depending on how crispy you want the bread. Sometimes I like to put the oven on broil to get the bread extra crispy.
- Garlic Butter Mixture – When adding the butter mixture, we recommend spreading the whole bread to ensure the best flavor.
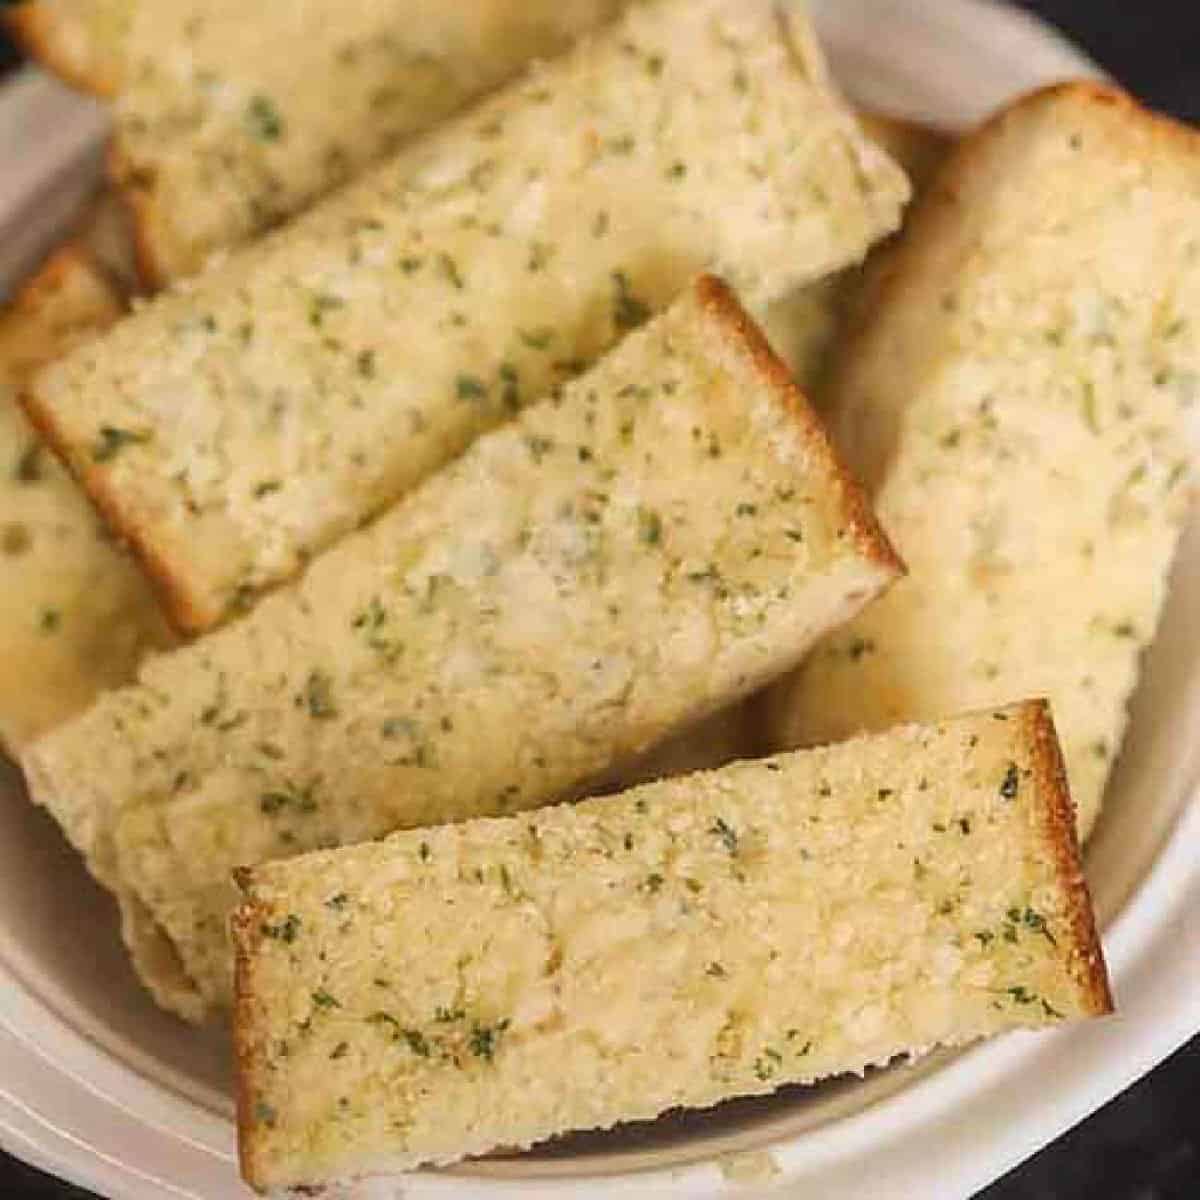
- Storing Bread – We recommend storing bread in 1-inch slices so it is easy to take out individual servings when you need it.

Serving Suggestions
We love to make garlic bread to serve with many recipes. We also have it when we make Easy Chicken Lasagna Recipe, Alfredo Meatballs and any of our pasta recipes.
It even is delicious served with Best Crockpot Chicken Soup Recipes.
Frequently Asked Questions
Garlic Bread can be made with different types of bread. We like to get a loaf of French Bread and cut in half but you can also use baguette or ciabatta for a delicious variations.
It depends if you want to crust crispy or soft. We like to bake our garlic bread without covered with aluminum foil because we love a crispy edge. But if you prefer it soft, place the two halves of the French Bread Together then wrap in foil. This will keep the bread soft but still bake it warm.
If you have leftover garlic bread, store in an airtight container. We usually leave the bread at room temperature and enjoy it within 2 days.
You can make a big batch of this garlic bread and freeze in freezer bag for easy garlic bread any night of the week. You can freeze the garlic bread baked or unbaked which makes it an easy side to any meal. Then it is ready to bake and there is no need to thaw the bread.
More Easy Bread Recipes
Quick Bread
Easy Cinnamon Swirl Bread Recipe
Quick Bread
Air Fryer Garlic Bread Recipe
Quick Bread
How to Make Naan Bread
We love to hear from you. If you make Homemade Garlic Bread, please leave us a comment or a star review.

Homemade Garlic Bread
Ingredients
- 1 Loaf of French Bread
- 1/2 cup Salted Butter softened at room temperature
- 2 Tbsp Olive Oil
- 1 Tbsp Minced Garlic
- 1 Tbsp Parsley finely chopped
- 3 Tbsp Grated Parmesan Cheese
Instructions
- Preheat oven to 400 degrees F.
- With a hand held mixer, combine the butter, olive oil, garlic and parsley. Mix until well combined and fluffy.
- Cut the french bread in half length-wise and place on a baking sheet
- Spread the butter mixture on each side of the bread and top with the grated parmesan cheese.
- Baked uncovered for 8-10 minutes until the outside of the bread is slightly browned.
- Cut and serve immediately. Enjoy!




No, I do not cover this garlic bread when cooking it.
Do I bake it covered?
Huge time & $ saver! ez to turn into mini pizzas too!
We make this all the time. I recently froze it and this is much better than having left overs and reheating. Simple and delicious as well as a money saver! Thanks for all the wonderful recipes on here. If I’m using some, I’ll cook for the 3 minutes and pull out what I need and heat for another 5 minutes. From the freezer I cook the same. Tastes perfect all the time!
Thanks for this easy recipe that saves my husband and me alot of money and it’s good ?
I really like the concept of the idea. Has worked out very well for me here. I’m still playing with the reheat time.
I really like the idea and the concept. Has worked out great for me. I’m still playing with the reheating aspect.
What a money saving recipe. And so much better than store bought French bread. Plus you can add whatever seasoning your family like. My husband loves everything hot and spicy. Like Me!
I bought garlic bread at the grocery store and already has the butter and the garlic on it. Can I freeze it like that? Or do I need to cook it first, and then freeze it?
I generally keep items in my freezer for 3-6 months. Thank you!
How long i can keep them in the freezer
Did you know you can buy a loaf of “day old bread” at Jimmy Johns for 50 cents?? That’s the best for garlic bread, too.
Olivia, no need to thaw. It went straight from the freezer to the oven which makes life even easier.
Did you let it thaw and then reheat? Or go straight from freezer to oven?
We reheat it in the oven, just like we normally would – about 400 degrees for just a few minutes.
Looks good but I am wondering best way to reheat? Thanks.