This post may contain affiliate links. If you make a purchase through links on our site, we may earn a commission.
Learn How to Dye Easter Eggs with Kool Aid. No special kits needed and your kids will have a blast.
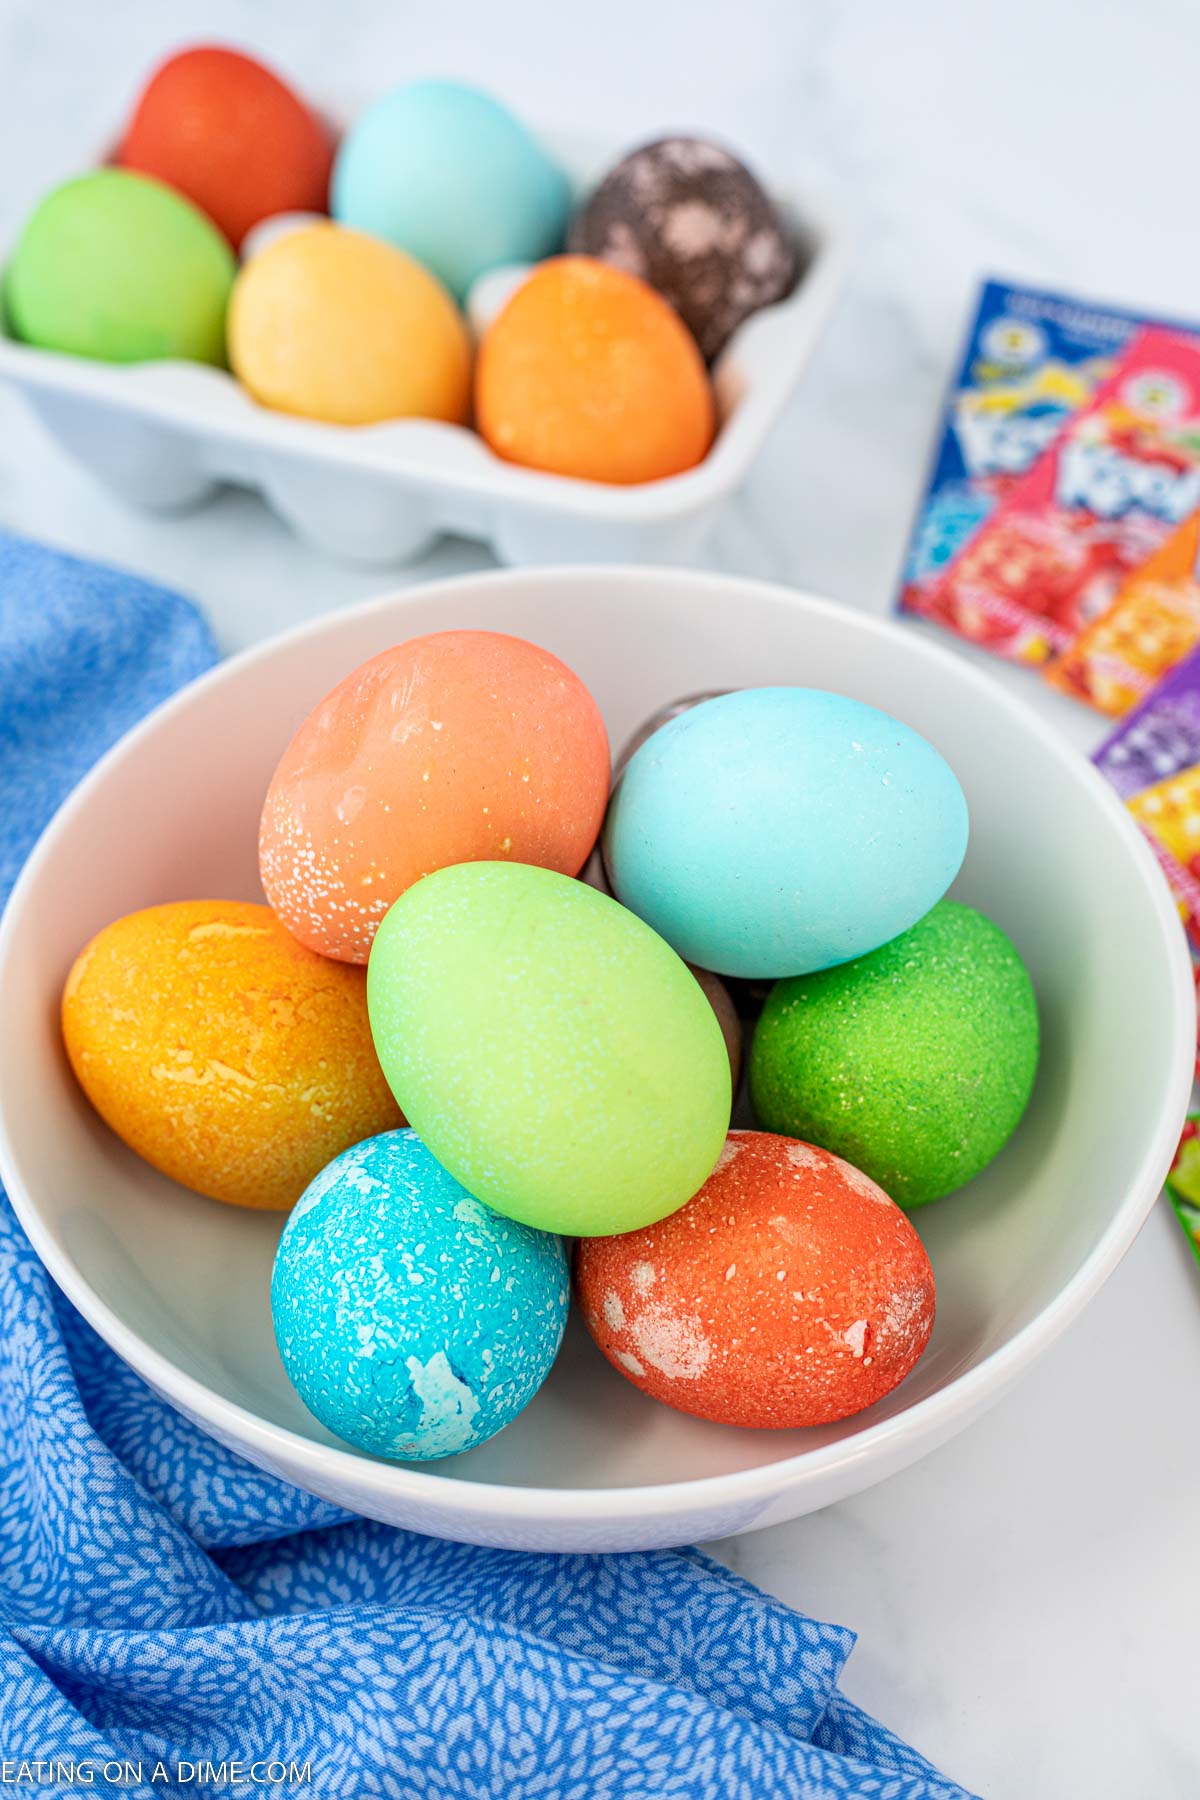
We are going to show you how to dye Easter eggs with kool aid for gorgeous Easter eggs. Have you heard of coloring your Easter Eggs with Kool-aid?
It is actually very easy to do and the kids just love it! You don’t have to special dye at the store to color your eggs vibrant colors. You just need Kool-Aid and water. Make this Easter Candy Charcuterie Board to enjoy while you are dyeing these eggs.
Table of Contents
Can you Color Easter Eggs with Kool Aid?
Yes! You most certainly can and it is one of our favorite ways to dye eggs. It is super easy and does not require any kits or expensive ingredients. Egg dying with Kool aid is a great way to make a fun memory with your kids.
Why This Recipe Works
I love that I don’t need any of those kits and there isn’t any need to purchase items like white vinegar. Kool Aid mixed with hot water make the perfect egg to hunt with.
This saves money and time and the eggs look so pretty. I almost always have packets of Kool Aid so it makes it even easier to do this with the kids.
Supplies you need:
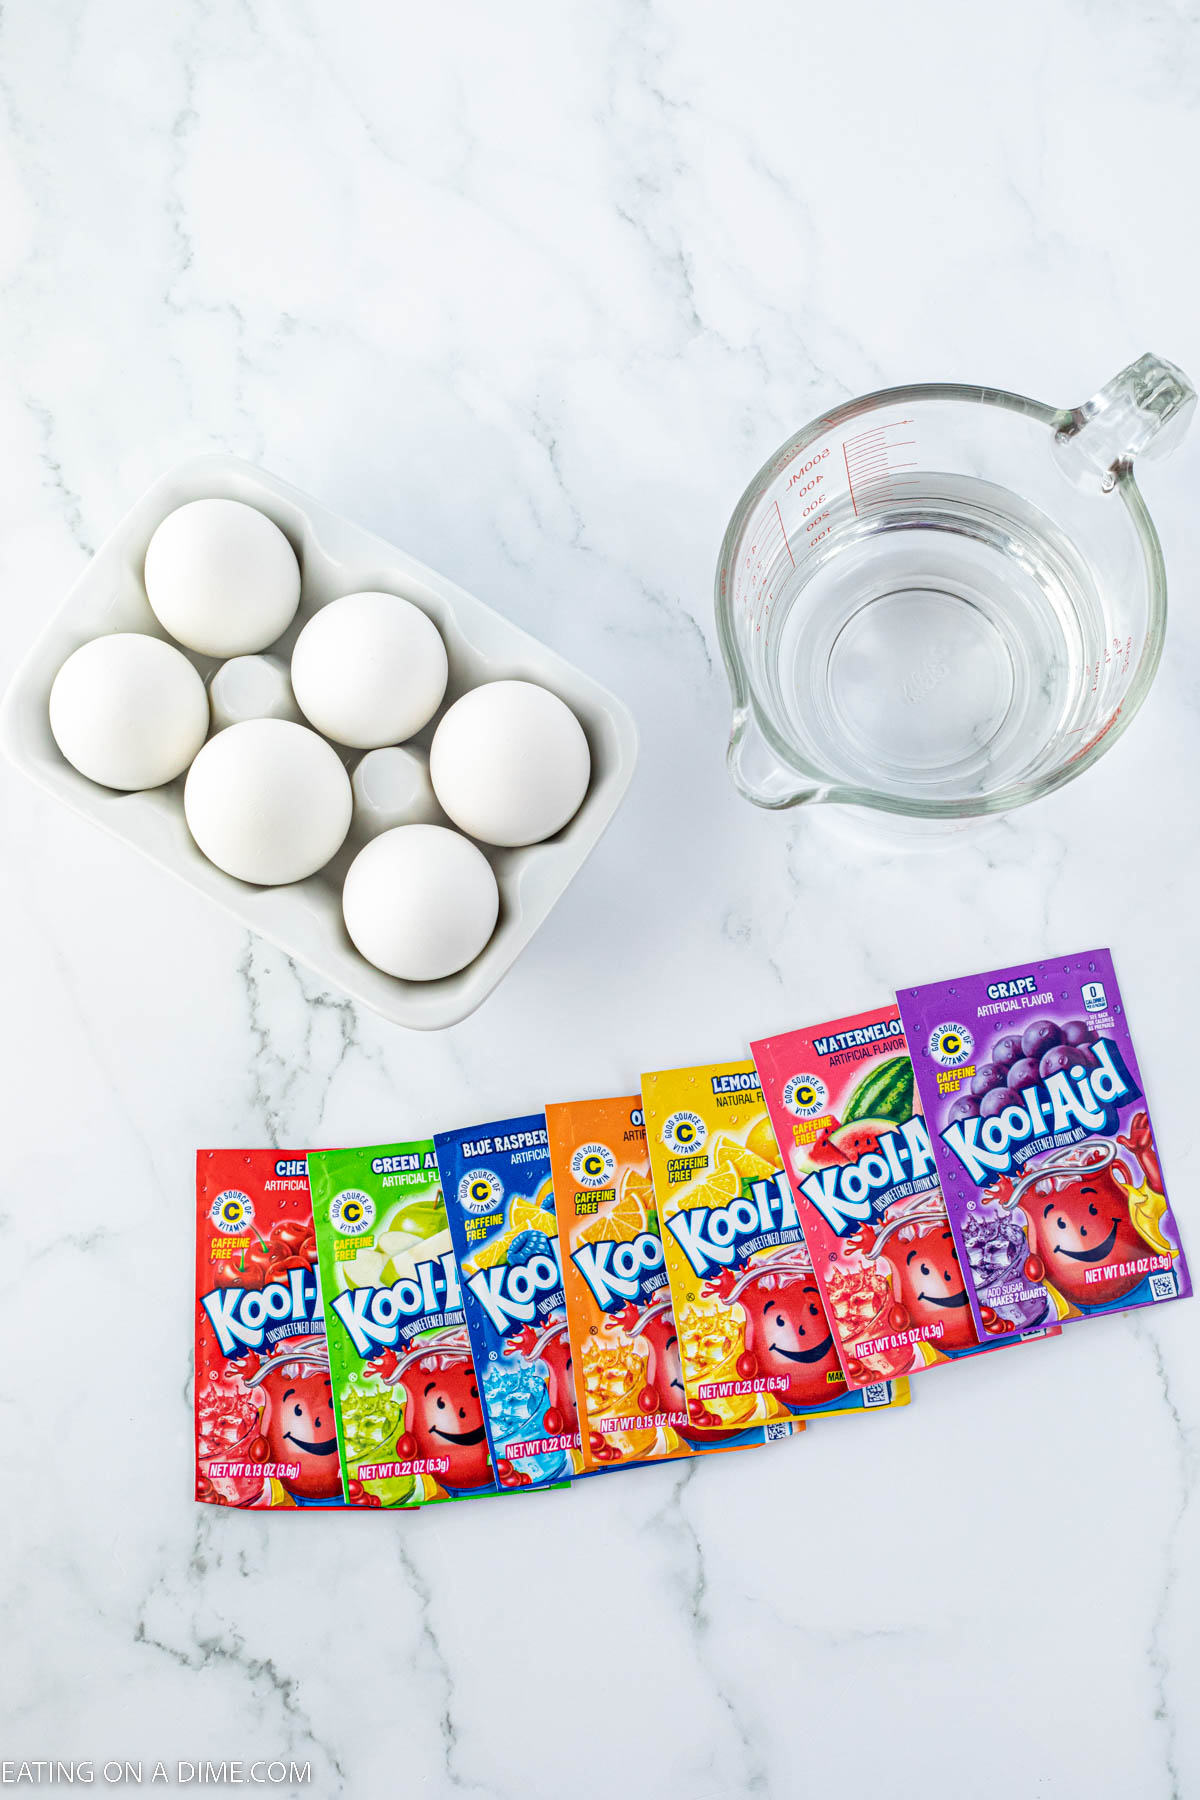
- Eggs
- Kool Aid Packets Drink Mix
- Water
Scroll to the bottom for the full recipe and ingredients in the recipe card.
How to Dye Eggs with Kool Aid
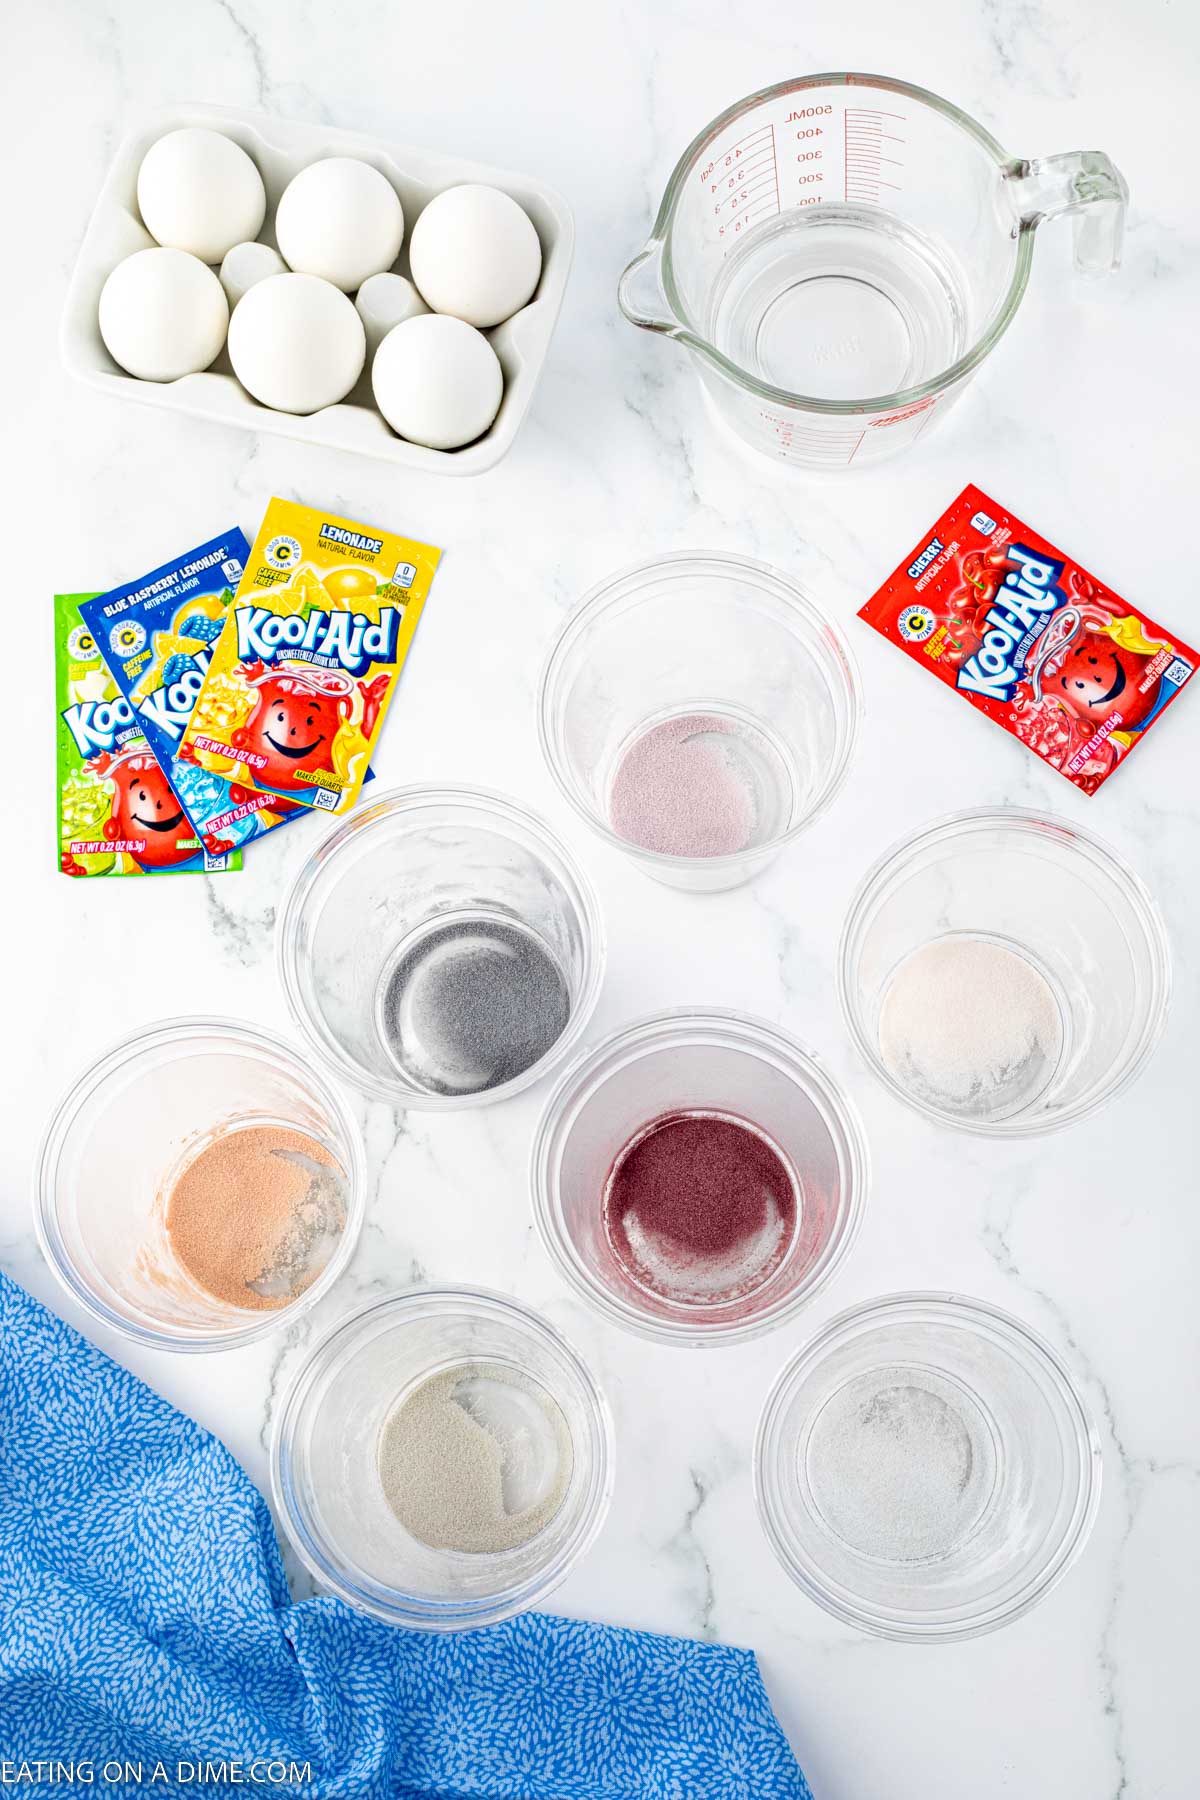
Step 1 – Take 1 full packet of kool-aid mix and stir with 2/3 cup of water (some have used 1 cup of water). If you use less water, you will get more vibrant colors.
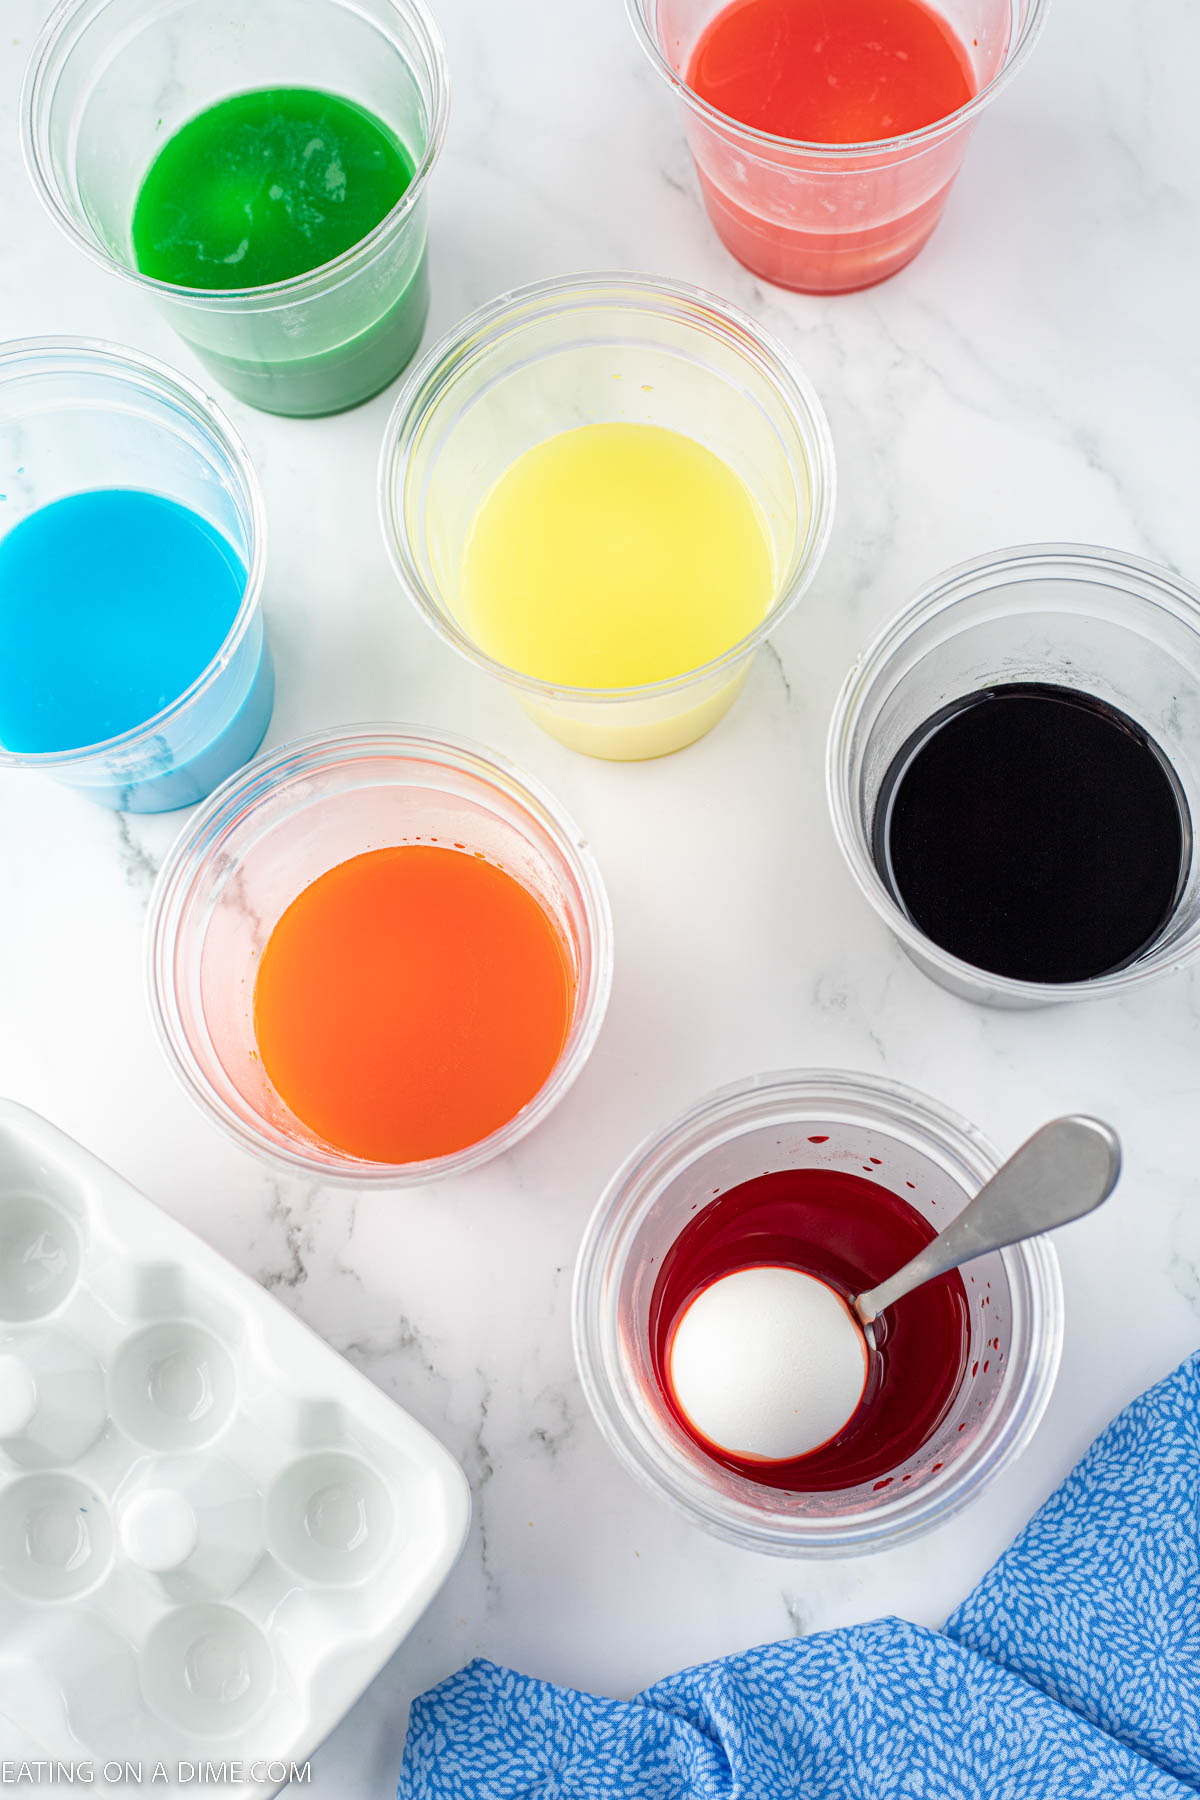
Step 2 – Dip your eggs like you normally would in desired color. Allow the color to penetrate fully. We have even did tie dye on the eggs.

Step 3 – Let Kool Aid dyed easter eggs dry completely on a wire rack.
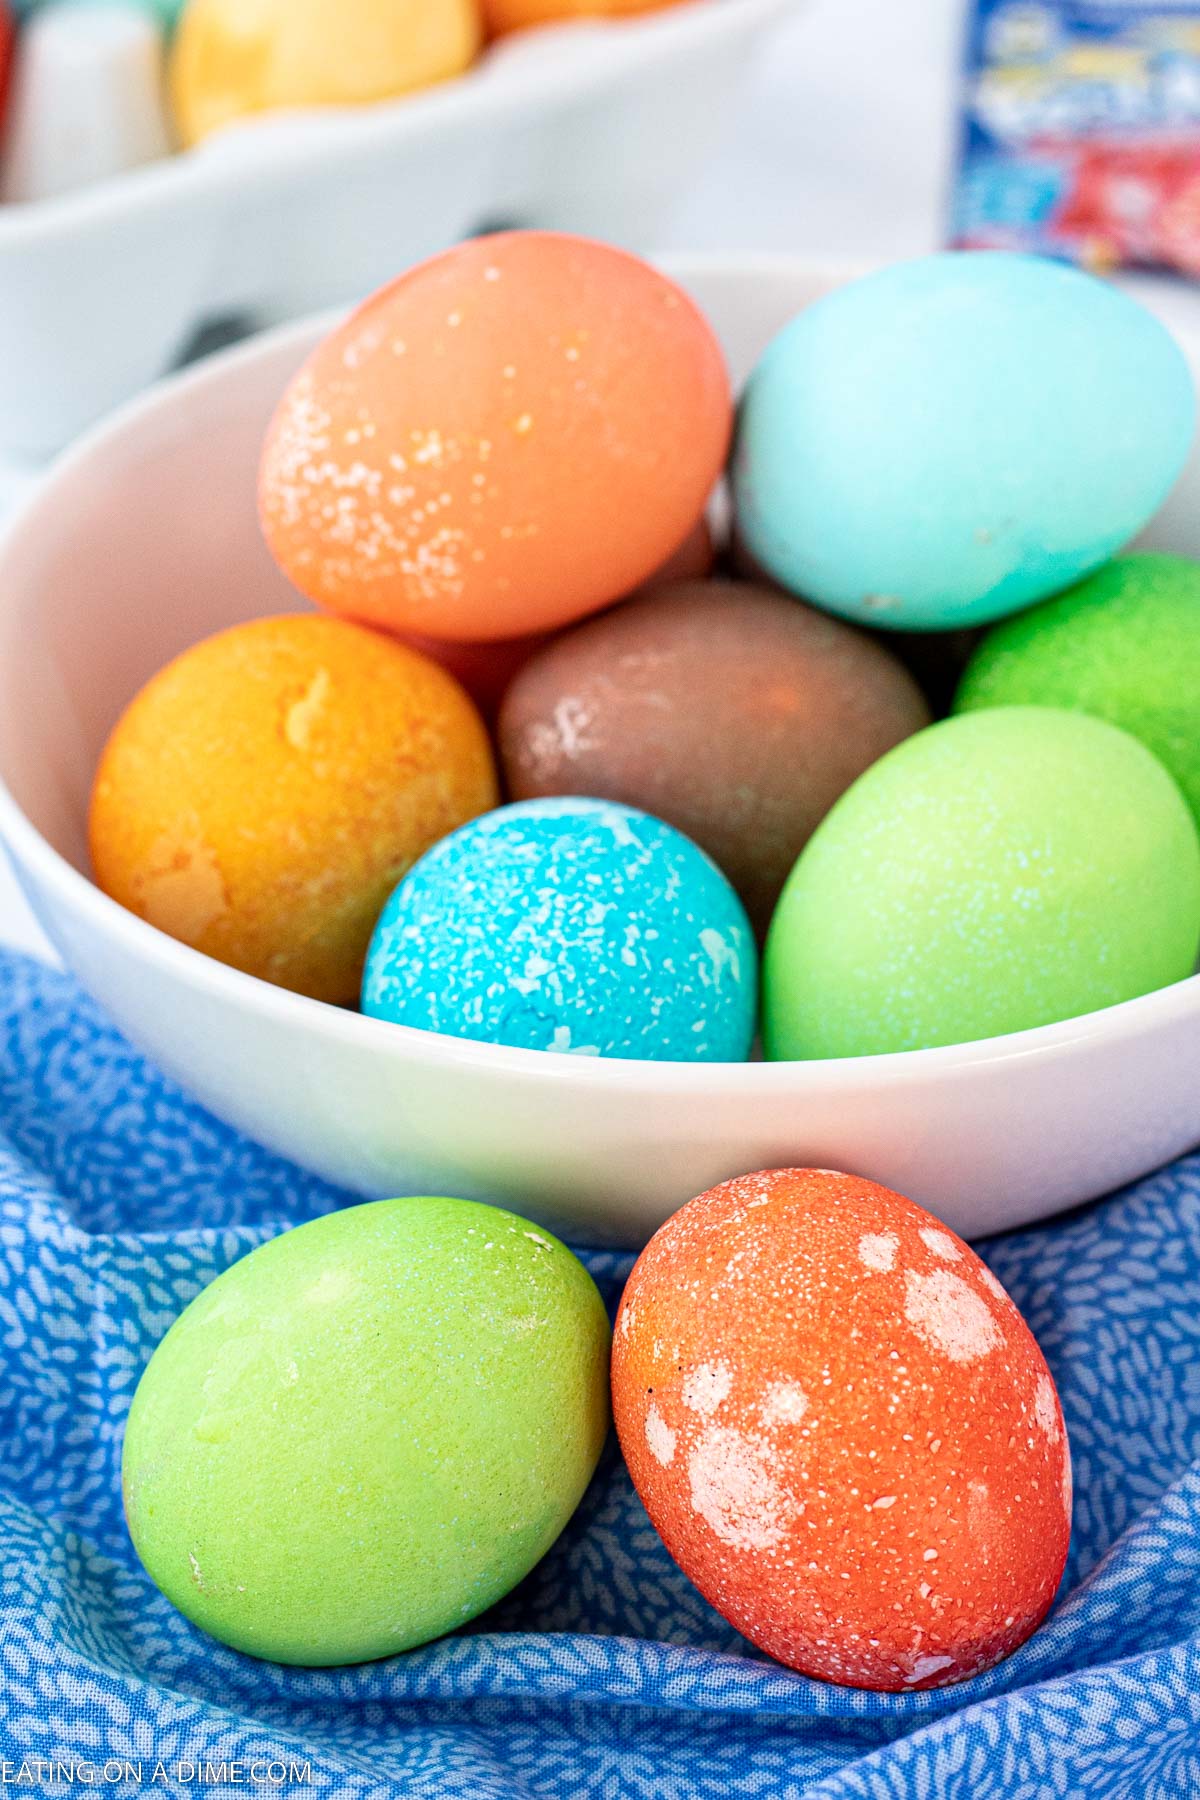
Step 4 – We like to keep in the egg carton to dry.
Recipe Tips
- Dyeing the Eggs – The less water you use the more vibrant the color of your eggs will be.
- Placing in the Water – You only need to place the eggs in the water for about a minute or so. It doesn’t take long for the color of the eggs to appear on the egg.
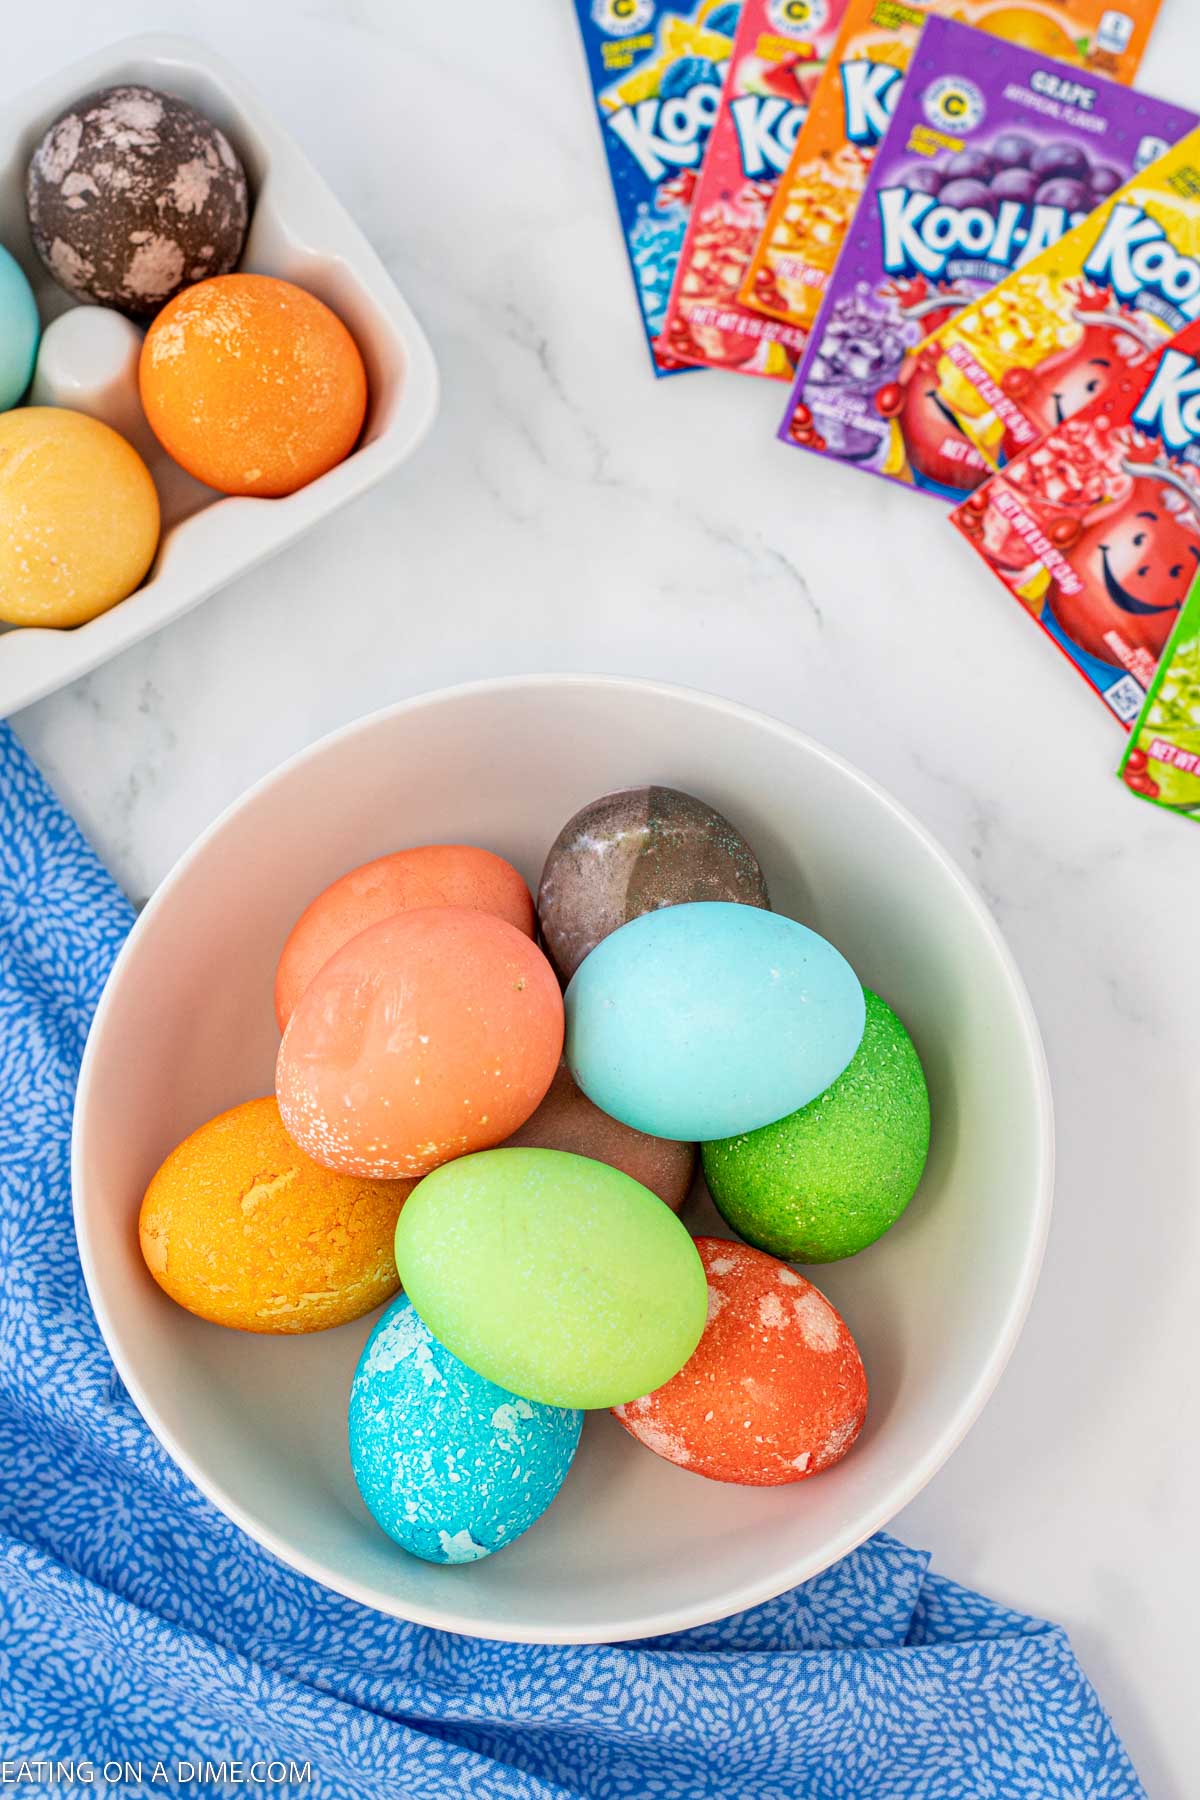
- Color of the Eggs – Some Kool Aid flavors may not turn out good colors for the eggs. Lemonade flavor color did not turn out a very vibrant yellow. It was a light yellow color.
- Drying Eggs – Place on a wire rack that has a paper towel underneath. This catches any drippings for the dye.
Recommended Flavors to try
- Grape
- Cherry and Lemonade
- Blue Raspberry
- Lemon Lime
- Lemonade
- Peach Mango
- Berry Blue
- Strawberry
- Black Cherry
- Pink Lemonade
- Green Apple
- Orange
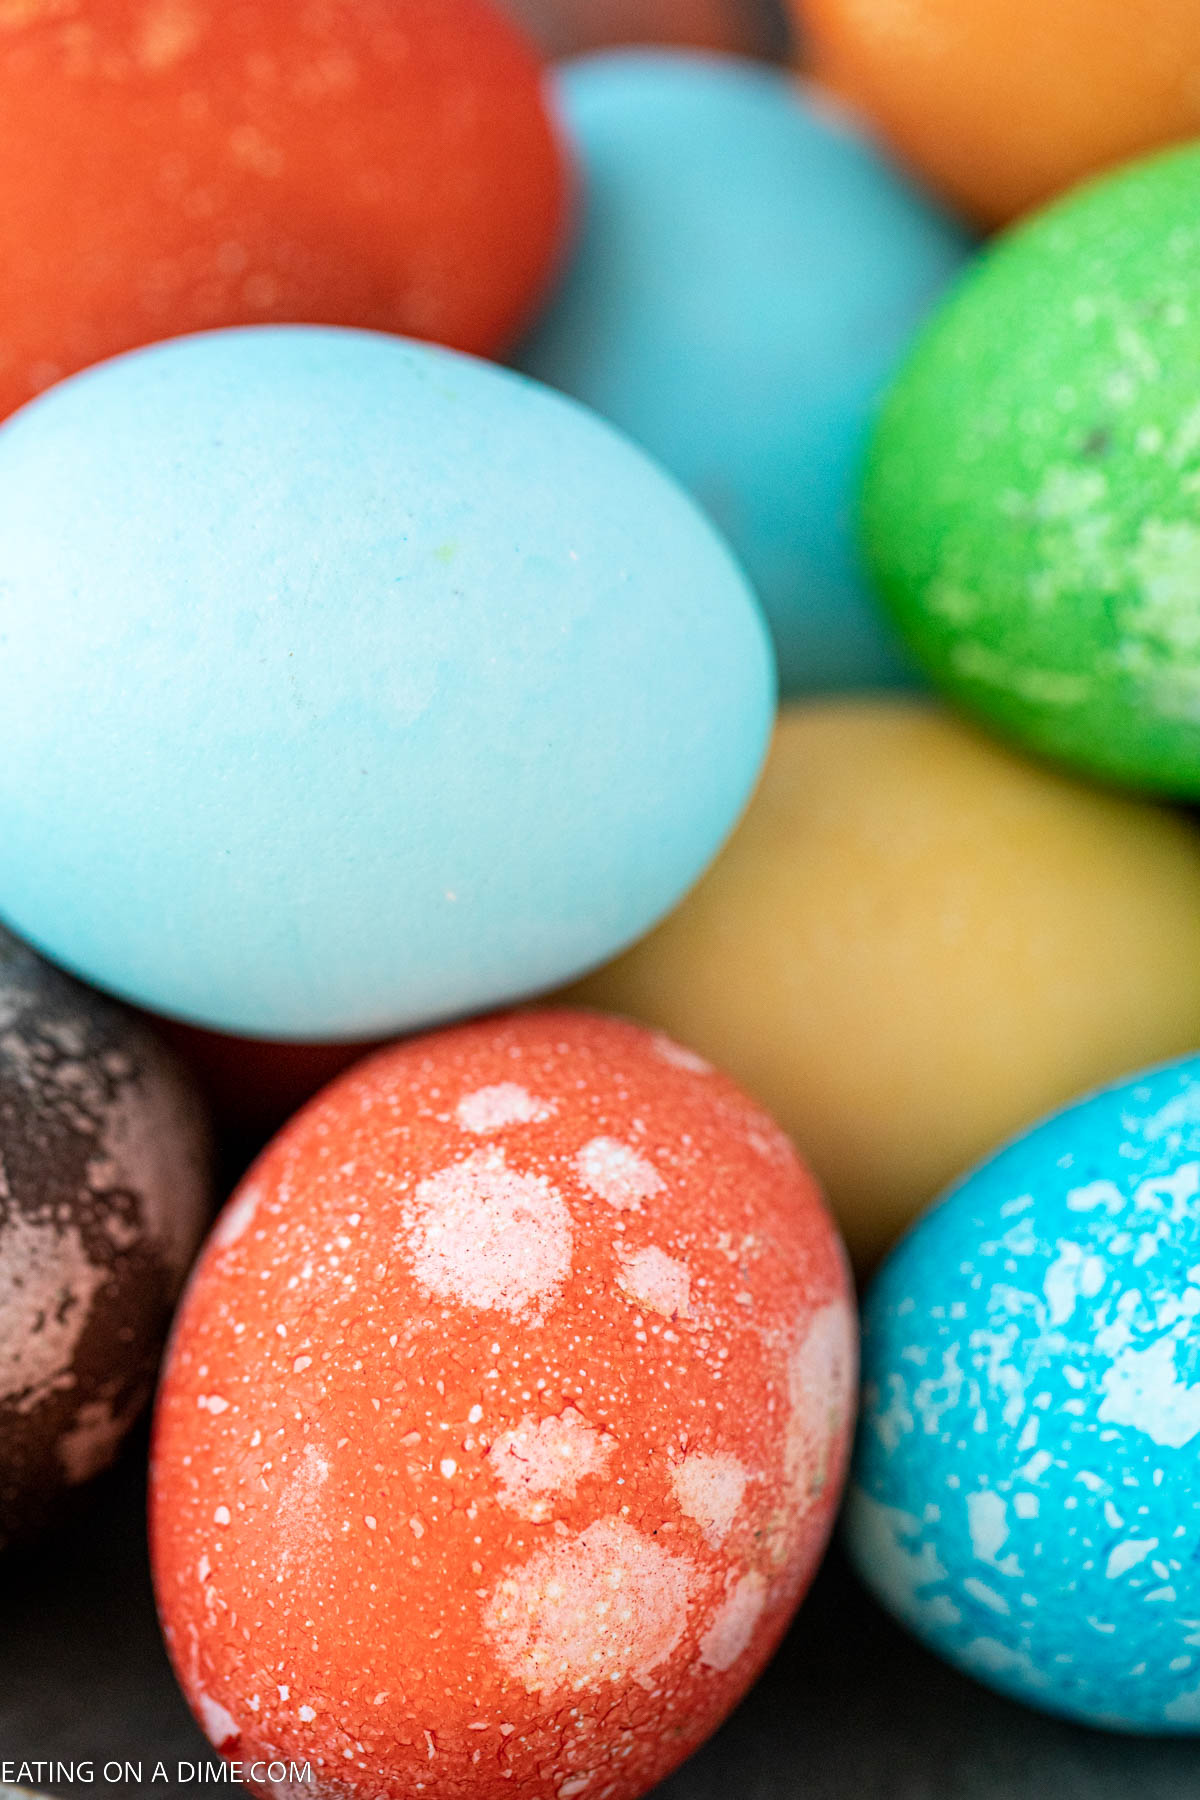
Just remember, leave the egg in the kool aid longer to get more vibrant colors. If you want to have more pastel eggs, do not leave them in as long.
Frequently Asked Questions
There are many ways to boil eggs to make these Kool-Aid Easter Egg. You can make them in the oven, instant pot or on the air fryer.
Kool Aid dyed eggs will last about a week. This is a great activity to do a head of time for all your Easter egg hunts.
Yes, Kool aid dye eggs are safe to eat.
Try these Easter Treats
- Crock pot Spiral Ham Recipe
- Easy Cheesy Potatoes Recipe
- The Best Recipes for Easter Dinner – FREE Menu Plan
If you do this fun activity with the kids, make sure to leave us a comment or a star review. We love hearing from you.
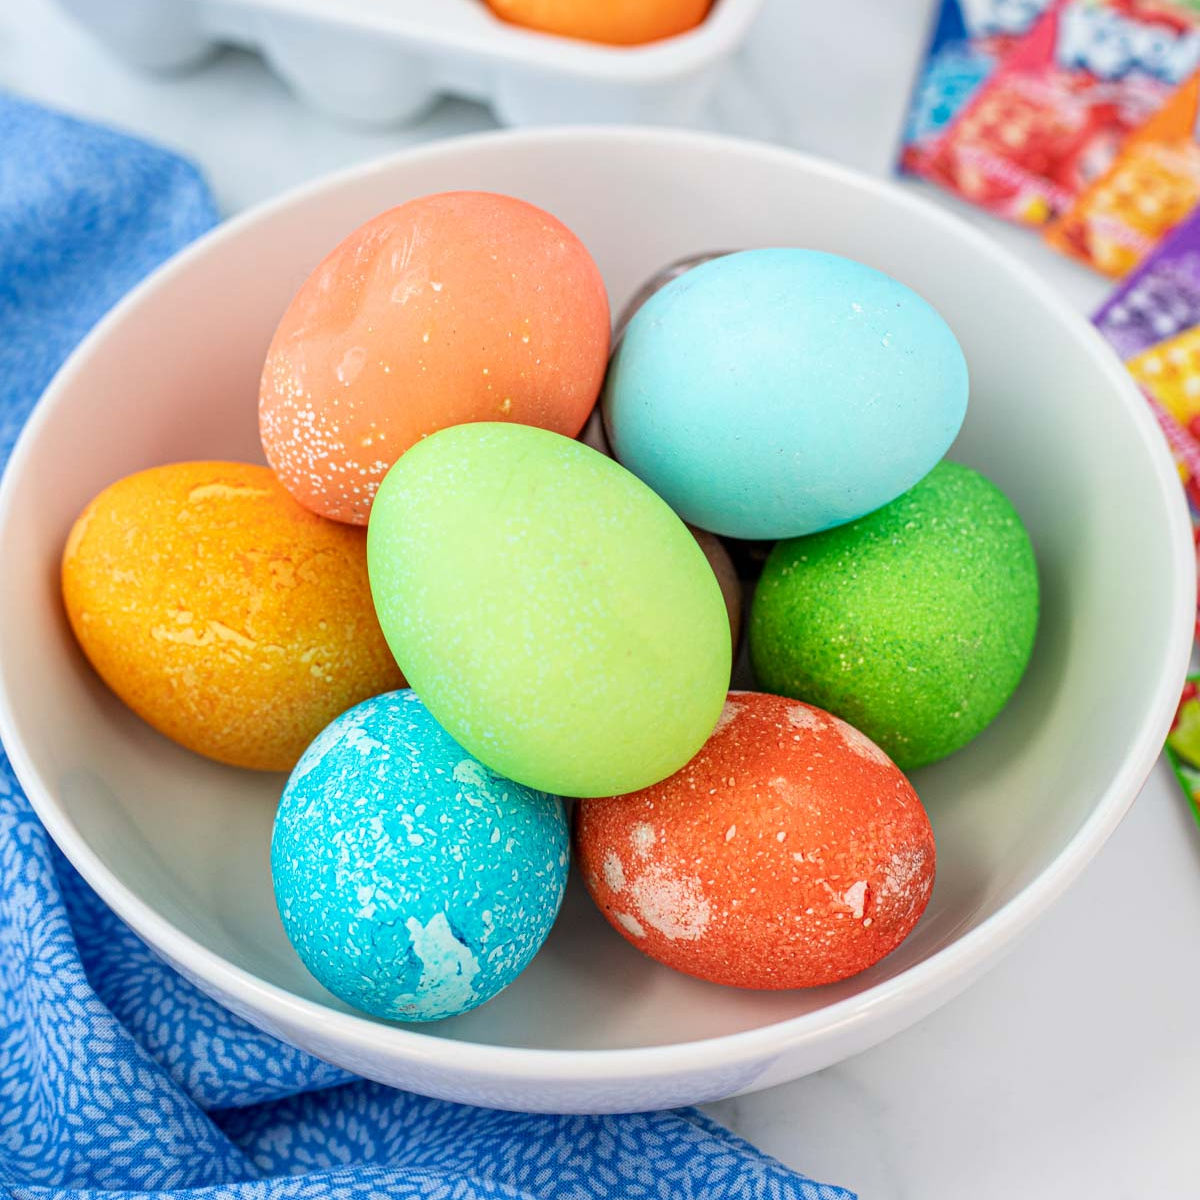
Easter Egg Dying with Kool Aid
Ingredients
- Hard Boiled Eggs
- Kool-Aid Packets various colors
- Water
Instructions
- Dissolve a packet of Kool-aid in a cup with 2/3 cup water. Whisk until the kool-aid is dissolved into the water.
- Continue this process until you have each color dissolved in water in a separate cup.
- Place the hard boiled eggs in the cups and allow them to get completely covered with the kool-aid mixture. Let the eggs soak for 5-10 minutes until the eggs are the color that you prefer. The longer the eggs sit, the more vibrant the colors will be.
- Use a spoon to remove the eggs from the cup and place them on a wire rack on top of a baking sheet to cool completely.
